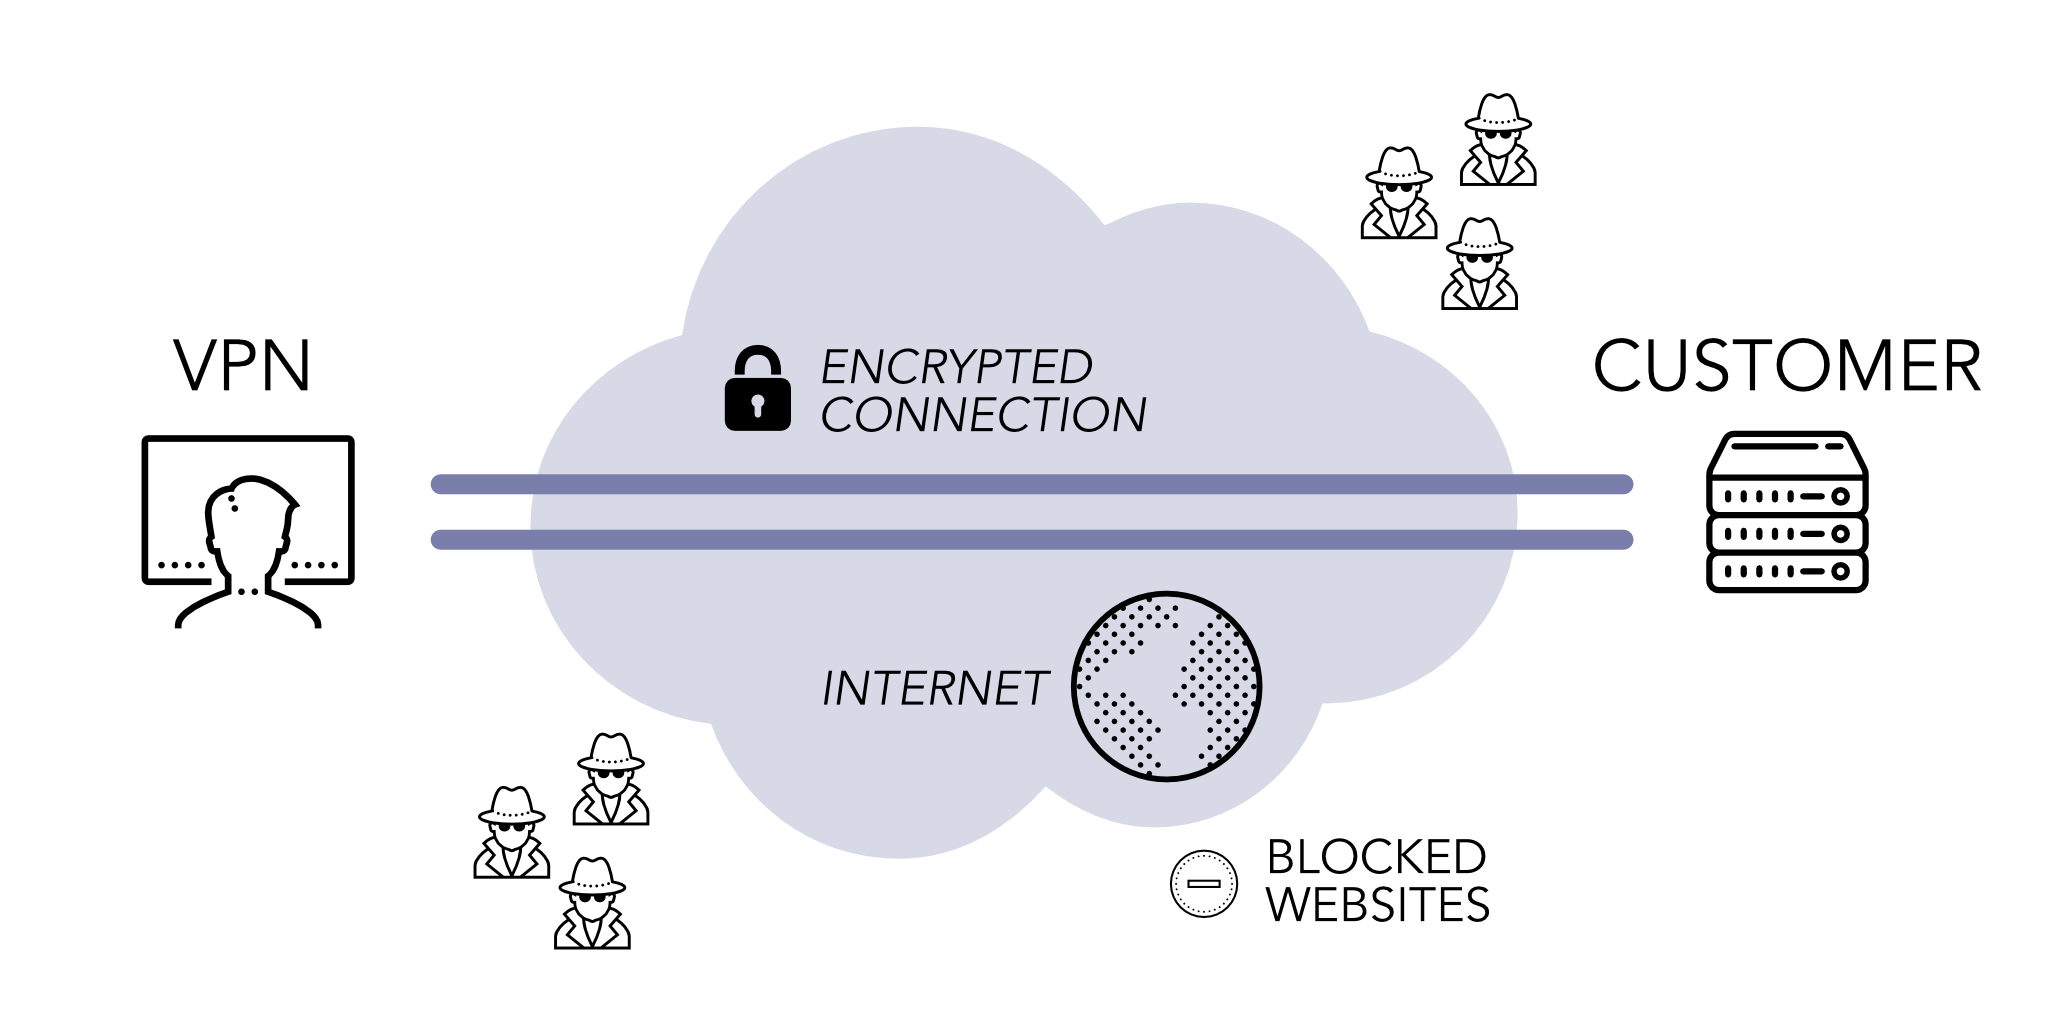
The purpose of this guide is to assist clients interested in taking a dedicated server and reselling it as a VPN provider; however, it may also be used to set up a personal VPN for your own use. The following guide will work on any of our dedicated servers running CentOS 5.10 or higher; however, if your server is being used primarily for VPN purposes, we recommend an X3220 w/ 8 GB of RAM.

1. Install OpenVPN Access Server on your server
As root, run the following wget command:
cd /etc
wget http://swupdate.openvpn.org/as/openvpn-as-2.0.25-CentOS6.x86_64.rpm
Once the download has finished, run the rpm with the following command:
rpm -ivh openvpn-as-2.0.25-CentOS6.x86_64.rpm
Then, run the following command to change the password for your OpenVPN account:
passwd openvpn
You’ll be prompted to input your new password twice. This will be the password you use to login to OpenVPN.
2. Login to OpenVPN Access Server
You should now be able to login to OpenVPN. The URL is below:
https://IPADDRESS:943/admin
You will need to input the primary IP address for your server into the URL, e.g. https://204.74.214.26:943/admin. The default username is "openvpn" and you will need to use the password you set earlier in step 1.
Click the "Agree" button to get into the OpenVPN homepage.
From here, you can administer your server’s VPN settings. For additional documentation, we recommend utilizing OpenVPN Access Server’s documentation database below:
3. Setting up New Users with VPN Access
In order to set up new users, you must do so on the server itself. SSH into your server as root and run the following commands:
adduser exampleuser --shell=/sbin/nologin --no-create-home
passwd exampleuser
Once prompted, input the password you’d like for the new user. In doing so, this will add a user named "exampleuser" to your server; however, this user will not have SSH access into your server. This is to prevent any potential vulnerabilites or hack attempts from your VPN users.
Once the user’s been set up, login as admin to OpenVPN Access Server and click the "User Permissions" link under the "User Management" tab on the left. Create the same user here. Make sure you don’t check "Admin" or "Allow Auto-login" unless you want that user to have those privledges. Additionally, this is where you deny access to any existing users.
OpenVPN Access Server allows 2 concurrent client connections for free, after which additional licenses are required. The price is $15.00 USD for 1 year with a minimum of 10 connections per license key. Licenses are purchased through OpenVPN Access Server at https://openvpn.net.
4. Client Configuration
Windows/OS X/Linux
In order for any desktop user to utilize OpenVPN Access Server they will need to route the traffic through a web browser; we recommend utilizing Google Chrome. Have the end user open a web broswer and input the following URL:
https://IPADDRESS:943
You will need the end user to input the primary IP address for your server into the URL, e.g. https://204.74.214.26:943. From here, the end user can login using their username & password set up in step 3. They will then be prompted to download OpenVPN Connect, which will allow them to utilize the VPN.
iOS
Open the iTunes App Store and install the "OpenVPN Connect" app. Once the app is installed, open the app and have the end user navigate to the following URL in Safari:
https://IPADDRESS:943
You will need the end user to input the primary IP address for your server into the URL, e.g. https://204.74.214.26:943. From here, the end user can login using their username & password set up in step 3. After logging in, click on "user-locked" or "autologin" profile. Then, select "Open in ‘OpenVPN’". Go back to the OpenVPN app, which will now have a notification that a new profile is ready to import. Tap the green plus sign to import it. Input the password once more and slide the "Connect" button to the on position.
Android
Open the Google Play Store and install the "OpenVPN Connect" app. Once the app is installed, open the app and have the end user navigate to the following URL in Chrome:
https://IPADDRESS:943
You will need the end user to input the primary IP address for your server into the URL, e.g. https://204.74.214.26:943. From here, the end user can login using their username & password set up in step 3. After logging in, click on "user-locked" or "autologin" profile. It will prompt a download for "client.ovpn". Once the file is downloaded, open it. OpenVPN should relaunch. Input the password again and hit the "Connect" button*.
*Android Marshmallow has a known bug that causes an error when attempting to route DNS through a VPN server. Check this guide for a workaround by rooting your Android.
https://codeword.xyz/2016/09/08/solving-openvpn-dns-issues-on-android-clients/
